I’m writing this entry to push me to finish my neverending story about the digital frame project I started. I’m hoping that the entry will give me some sort of ignition after more than a year.
I had an old Dell Latitude c600 sitting at home and collecting dust. Like many other old hardware I have at home… So I decided to convert it to a digital frame that I can hang it somewhere.
Here are my goals:
- Have a low power, low cost digital frame.
- Ability to manage it wirelessly.
- Make it easy to use
- Have fun.
- Make an old hardware happy.
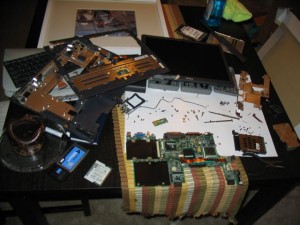
The very first step was to dissect the laptop and remove the guts. It turned out to be somewhat challenging, but with the right tools and time, things moved pretty good. I’m not going to go into details on how to dissect a c600, but here is a picture in the late stages of the dissection.
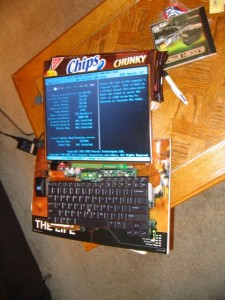
Next step was to remove all the unnecessary parts like battery, CD-ROM, and some mini pci cards like ethernet/modem combo. I kept the pcmcia slot for the wireless card, and while there, added some leftover RAM to it. After neatly placing them all together, here is how it looks with BIOS setup on. The image is tilted to get rid of the flash glare.
Now the software step. Of course my OS of choice is Debian/Linux. I installed bare minimum Debian with fluxbox as desktop manager. Al I needed to do was to find a low cpu/memory usage image viewer. At first I thought about not having a Graphic User interface, and use zgv from the console, but then I gave up since it was too much trouble. (Still I think it would be cool to have a console only picture frame, maybe on the next version)
Instead, I decided to use feh. I must say i’m extremely satisfied with feh and recommend to everybody 😉 The only issue I had was that the mouse pointer was showing in the middle of the frame which was not a good sight. I used unclutter to get rid of that. (I had to hack the program a bit to my taste)
I wrote some scripts and changed some config files for all this to start automatically. I will share the scripts later when the whole project is completed.
Now that the computer part is done, I need to take the measurements and head home depot or similar place to create some base for the frame and also buy a nice looking frame to place everything inside. So I guess there will be a second part of the blog entry.
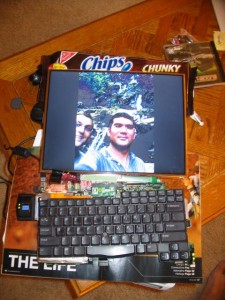
Here is how it looks like as of now:


